The Montessori approach to early childhood development emphasizes hands-on learning, independence, and purposeful play. Rather than overwhelming children with flashy, overstimulating toys, Montessori materials are intentionally simple and designed to isolate specific skills. Creating these toys yourself not only reduces cost but also allows you to tailor them to your child’s developmental stage and interests.
This guide breaks down DIY Montessori toy ideas by age group, along with practical construction tips and design principles.
Understanding Montessori Toy Principles
Before building anything, it’s important to understand what distinguishes a Montessori toy from a conventional one. These toys are not meant to entertain passively; they are tools for active learning.
A well-designed Montessori toy typically focuses on one skill at a time. For example, a posting activity develops hand-eye coordination without introducing unrelated distractions like lights or sounds. Materials are usually natural wood, cotton, or metal because they provide richer sensory feedback than plastic. Another defining feature is built-in error control, allowing children to recognize and correct mistakes independently.
Safety is non-negotiable. Materials must be non-toxic, edges smooth, and components sized appropriately for the child’s age to prevent choking hazards.
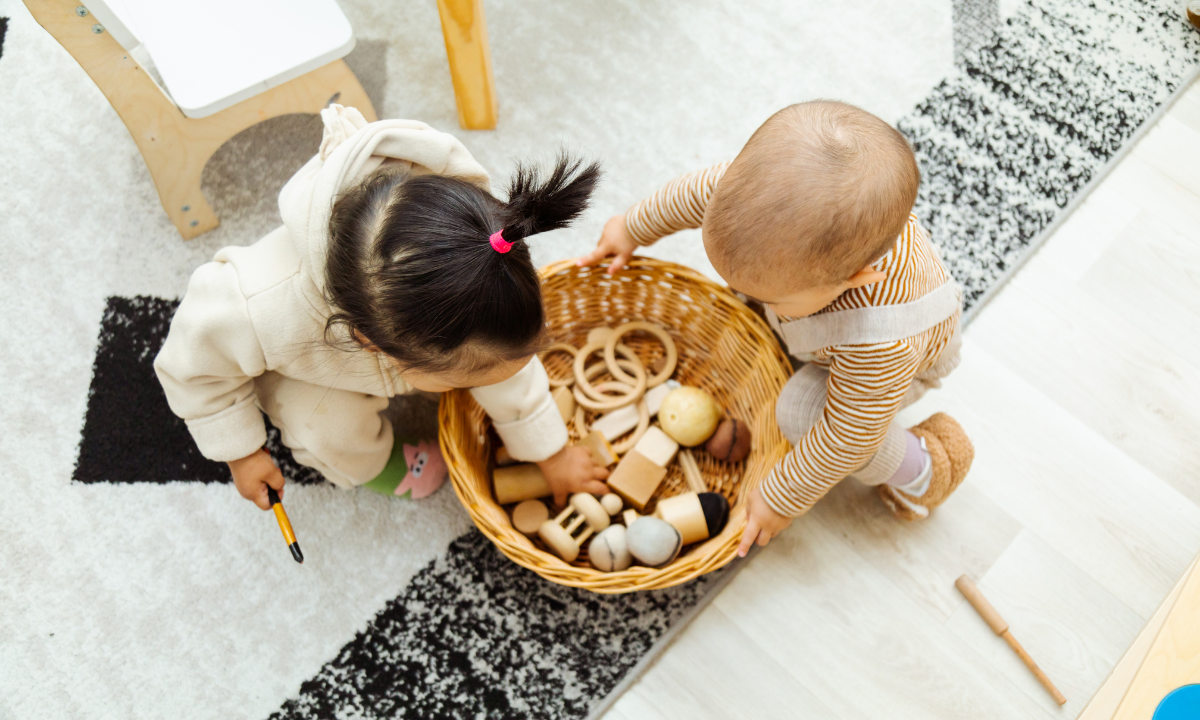
DIY Montessori Toys for Infants (0–12 Months)
At this stage, development centers on sensory exploration and basic motor skills. Infants are learning to track movement, grasp objects, and differentiate textures and contrasts.
Simple, high-contrast black-and-white cards are effective for visual stimulation. These can be made with thick cardstock and bold geometric patterns. Grasping toys, such as wooden rings or bead strings (securely fastened), help strengthen early hand control. Another popular option is sensory bottles—clear containers filled with water, glitter, or small sealed objects. These must be tightly sealed to ensure safety.
The key is minimalism. Infants benefit from uncluttered objects that allow them to focus on one sensory input at a time.
DIY Montessori Toys for Toddlers (1–3 Years)
Toddlers are highly active learners, refining coordination and beginning to understand cause and effect. Toys at this stage should involve repetition and physical interaction. An object permanence box is a classic Montessori material. You can build one using a small wooden box with a hole and a ball that fits inside. The child drops the ball in and retrieves it, reinforcing the concept that objects continue to exist even when out of sight.
Posting activities are another effective option. A simple container with a slot can be used with coins, sticks, or discs. These activities strengthen fine motor control and concentration. Shape sorters can also be made from cardboard or wood, but should remain simple limiting the number of shapes prevents cognitive overload. Durability becomes important here, as toddlers tend to test physical limits. Reinforce joints and avoid fragile materials.
DIY Montessori Toys for Preschoolers (3–5 Years)
Preschool-aged children begin engaging in more structured learning, including early math, pattern recognition, and practical life skills. Counting boards are easy to create using a piece of wood with evenly spaced holes and small pegs. These help children visualize numbers and quantities. Lacing cards—made from cardboard with punched holes and a shoelace support hand coordination and pre-writing skills.
Color matching games can be assembled using painted clothespins and corresponding color boards. These activities subtly introduce categorization and visual discrimination. At this stage, incorporating real-life tasks is also valuable. For example, a simple pouring station with cups and dry beans can teach coordination and independence.
DIY Montessori Toys for Early Elementary (5–7 Years)
Children in this group are ready for more abstract thinking, including basic math operations, reading, and problem-solving. Fraction circles can be made from cardboard or wood, divided into halves, thirds, and quarters. These provide a tactile introduction to mathematical concepts. Word-building kits using movable letters cut from paper or wood help develop literacy skills through hands-on interaction.
You can also create simple science kits, such as magnet exploration sets or basic plant-growing stations. These encourage curiosity and experimentation. Self-correction becomes increasingly important. Materials should allow children to recognize errors without adult intervention, reinforcing independent learning.
Tips for Creating Effective DIY Montessori Toys
Keep designs minimal. If a toy tries to teach multiple skills at once, it often becomes less effective. Rotate toys periodically instead of presenting everything at once; this maintains engagement and prevents overstimulation.
Observe your child closely. Montessori education is responsive, not prescriptive. If a toy is consistently ignored or misused, it may not align with the child’s current developmental stage.
Budget constraints can be managed by repurposing household items jars, cardboard, and fabric scraps—provided they meet safety standards.
Common Mistakes to Avoid
A frequent issue is overcomplication. Adding excessive colors, sounds, or features undermines the Montessori principle of focused learning. Similarly, introducing toys too early can lead to frustration rather than engagement.
Safety oversights are another concern, particularly with small parts or poorly secured materials. Finally, avoid directing play too much. Montessori toys are designed for self-discovery, not instruction-heavy use.
Conclusion
DIY Montessori toys offer a practical way to support your child’s development while adhering to a proven educational philosophy. By focusing on simplicity, purpose, and age-appropriate design, you can create effective learning tools with minimal resources.